Adding Cut Out People To 3d Scenes
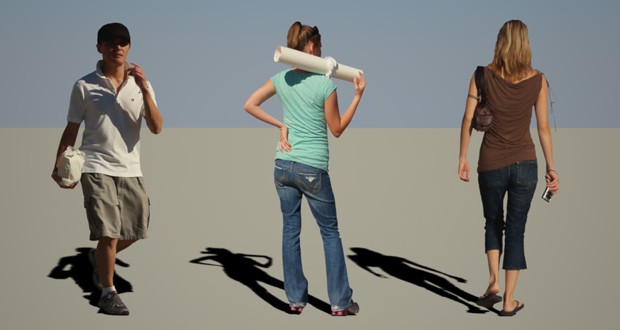
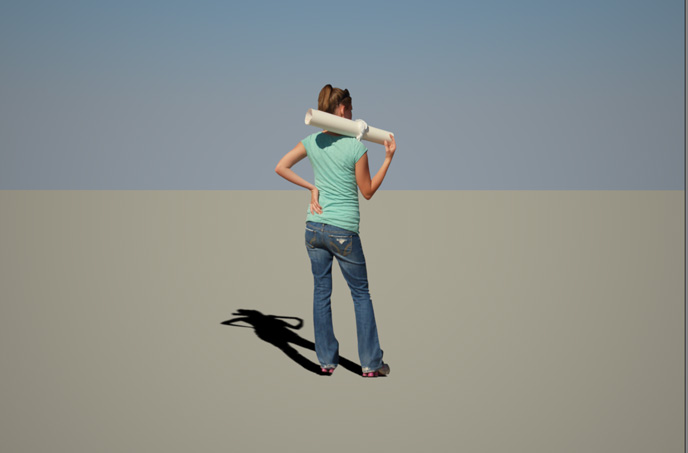
There are a variety of ways you can add cut out people to your images and renderings. In order to accommodate the different possible workflows, Easy3dSource provides multiple file formats such as separate diffuse / alpha jpgs, png’s with transparency, as well as photoshop psd files.
In this tutorial we will be outlining how to use cut out people within a 3d modeling program (such as 3dsMax or Maya) using separate jpg files for the diffuse and alpha channels. Although we will be using 3dsMax, the concepts of this tutorial are applicable to most modern 3d programs. The main benefits to using cut out people textures with this technique are:
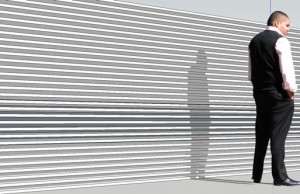
- allows for accurately cast shadows across complex surfaces
- allows more precise scaling of people within your 3d scenes
- takes advantage of edge blur technique (eliminate any unnatural white edges around your people images)
STEP 1: CREATE A PLANE
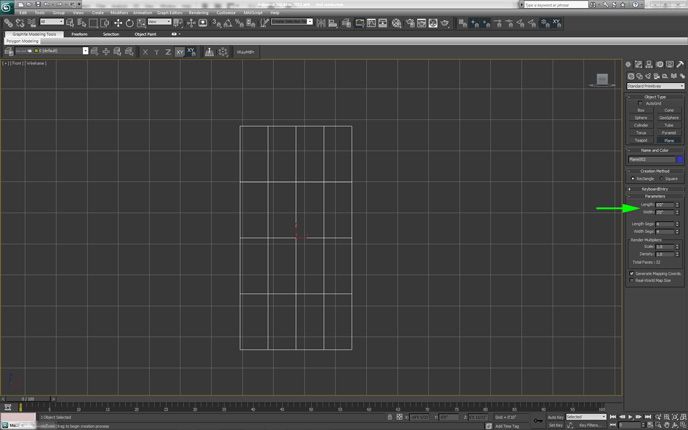
You must first create a plane that you will apply your people texture to. Create a plane in the front viewport, then set the length to 6′, and the width to 3′.
STEP 2: CREATING THE PEOPLE TEXTURE MATERIAL
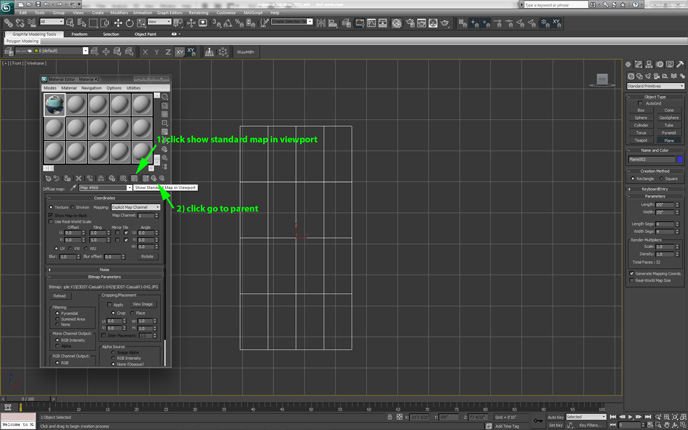
Open the material editor, and click the box next to the diffuse color swatch. (In our example we’re using a Vray material as our base, but you can still follow along with standard 3dsmax or Mental Ray materials). Select Bitmap under maps – standard, then navigate to your desired cut out people JPG file in the window that pops up.
Click the show map in viewport button, then click go to parent.
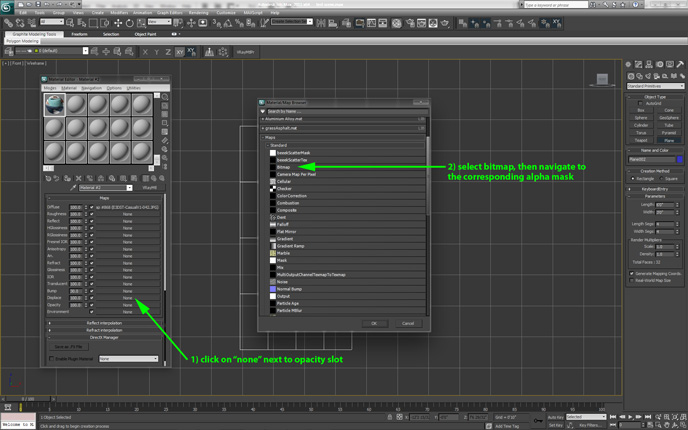
Scroll down to the maps section of your material, and click on the box labeled “none” next to the “opacity” attribute. In the material / map browser, choose bitmap, then navigate to the matching alpha mask JPG of the people image you previously selected.
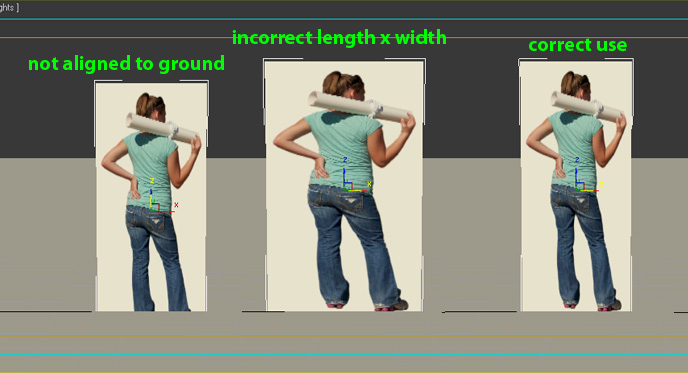
Make sure your viewport is set to shaded, then adjust the height and width of your plane, as well as the placement of the plane in your scene.
Your main light source, such as a sun system, should be as perpendicular to the face of your plane as possible, so that the shadows cast look believable. After following all previous steps, your scene is ready to be rendered.

