Using Cut Out People in SketchUp
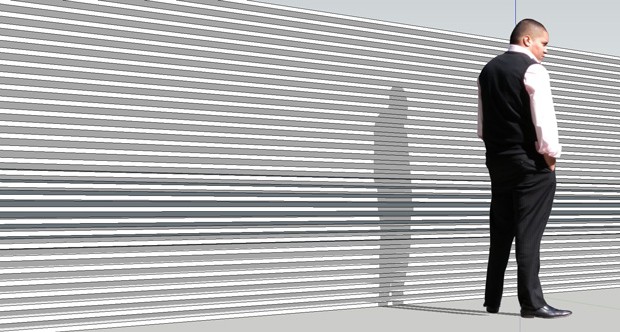
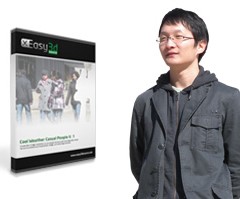
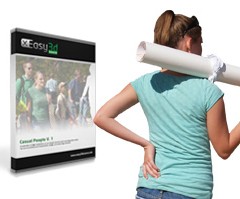
There are a variety of ways you can add cut out people to your images and renderings. In order to accommodate the different possible workflows, Easy3dSource provides multiple file formats such as separate diffuse / alpha jpgs, png’s with transparency, as well as photoshop psd files.
In this tutorial we will be outlining how to use cut out people within Google SketchUp using png files with embedded transparency. This tutorial is illustrates how to use our cut out people textures so that they cast shadows when viewed through SketchUp’s default viewport; this will explain how to create a component that will always face the camera, much like the default illustrated person you see when you first open SketchUp.
If you plan on using a 3rd party renderer for your sketchUp models, we highly advise you follow our other tutorial: using cut out people in 3d scenes.
Step 1: Import your desired Cut Out People PNG file
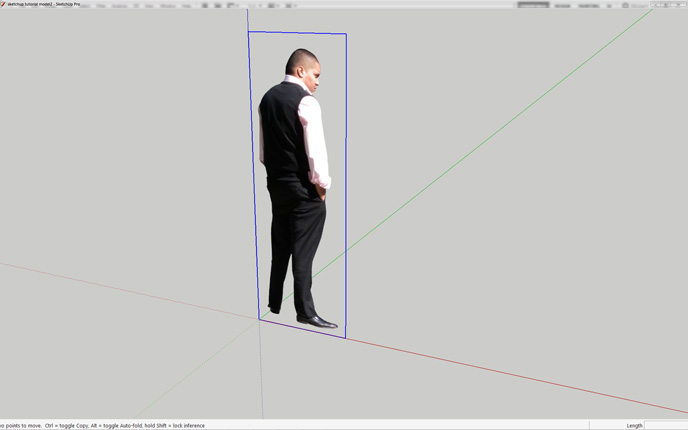
Click file > import, and navigate to the PNG file of the people texture you would like to use. Make sure that “use as image” is selected, then click import. Place the image on the ground plane, don’t worry about the site of the image for now.
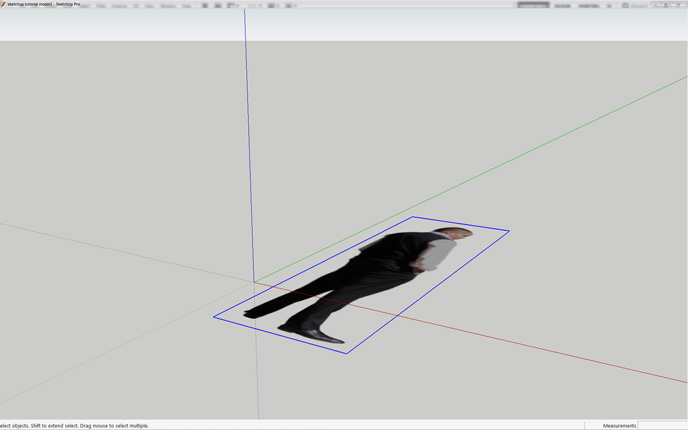
Rotate the image and make sure it is perpendicular to the green axis.
Step 2: Creating a component
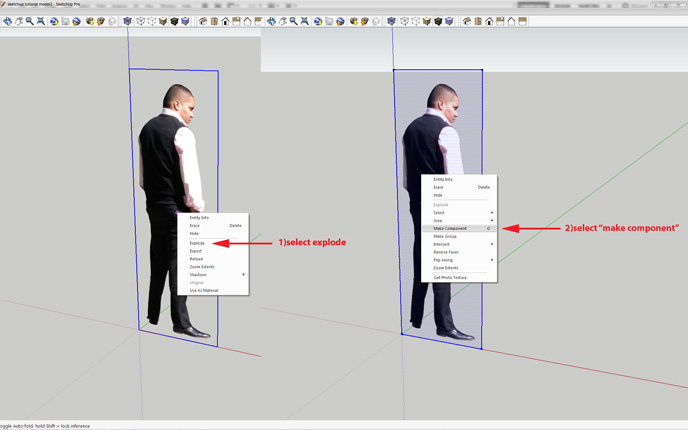
Right click on the imported people texture and select explode, then select the image and its edges, then right click and select “make component.”
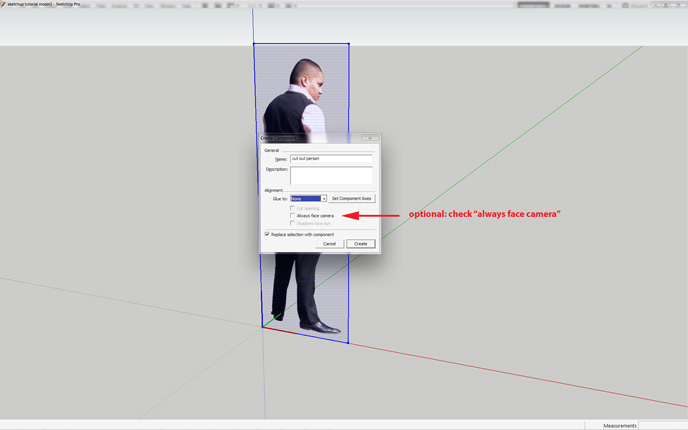
Name the component, and if you want the texture to always face the camera, check the “always face camera” box.
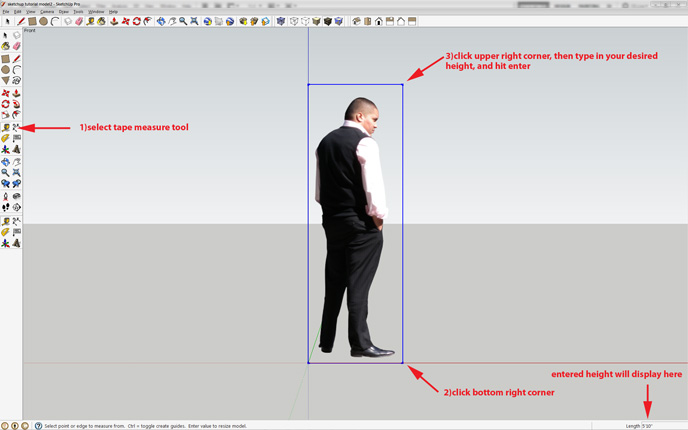
Resize the image to your desired height by using the tape measure tool. With the tool selected, click once at the lower right corner of the image, then again at the top right corner. Before doing anything else, type in your desired height, keeping in mind the space that is left between the top and bottom of the image. After entering the height, hit enter, then “yes” in the popup window. Afterwards, select and hide ONLY the 4 edges of the image. You can now see that your image is properly displayed. A few additional steps must be taken to ensure the images cast shadows correctly.
Step 3: Trimming the component to cast shadows
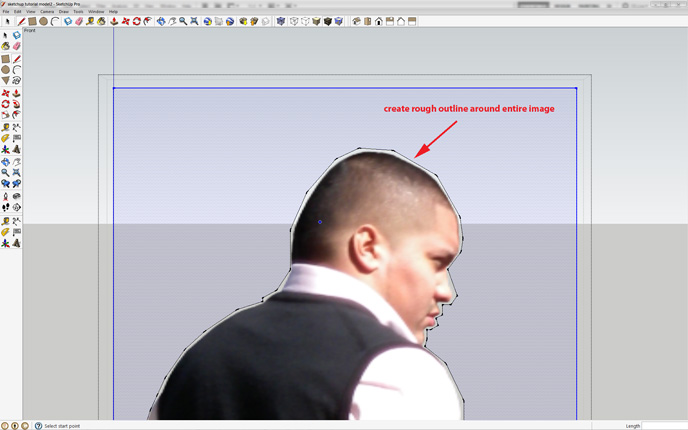
Double click on the component to begin editing. Turn on Hidden Geometry (the edges hidden in the previous step) then roughly trace the outline of the image.
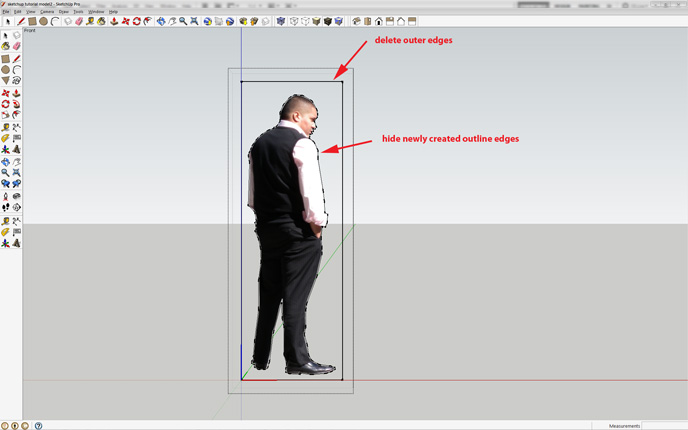
Once you finish outlining the image, select the four original edges of the component and delete them. Then select all of the edges of the newly created outline (don’t select the image itself!) and hide the edges.
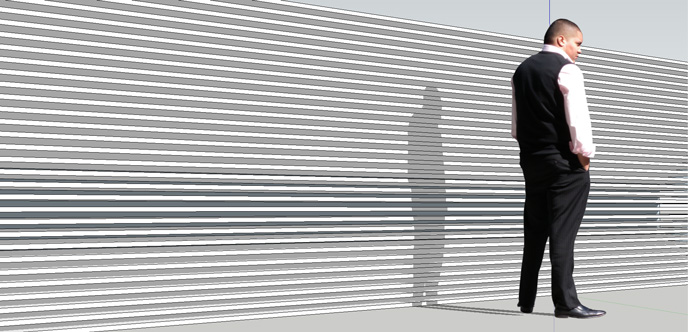
Place the cut out people texture in your desired location, and turn on shadows to see the final result.

